 MTI UK
  FWT
FWT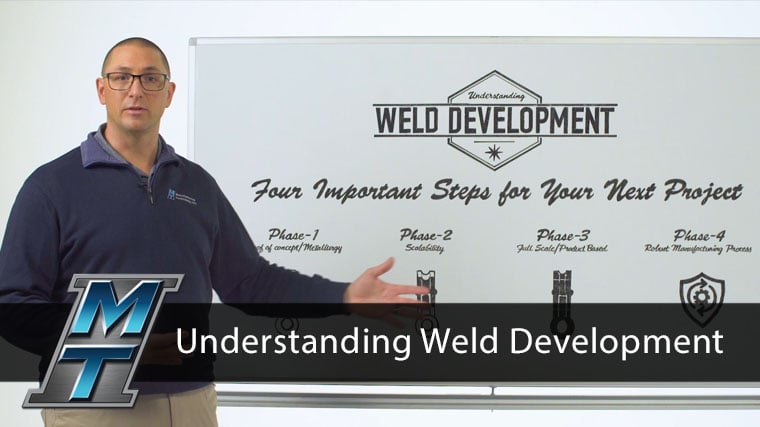
It's true - no two friction welding applications are the same. But no matter the part, the intent or the industry, there is one common goal we hope to achieve with each project we handle: create a component that is fit-for-purpose and can be ultimately joined on a production machine.
So, how do we accomplish this?
In this episode of Whiteboard Wednesday, we are going to take a deeper look at our comprehensive weld development process and explain why it's so critical to producing quality parts and quality welds.
MTI's weld development process is comprised of four steps:
- Phase 1: Proof of concept/metallurgy
- Phase 2: Scalability
- Phase 3: Full-scale/product-based
- Phase 4: Robust manufacturing process
To help walk you through the process, we will explain what to expect in each step and how it relates to the end goal.
Phase 1: Proof of Concept/Metallurgy
Phase 1 offers you the first glimpse into how friction welding will improve your part. Though this step can sometimes be skipped when utilizing a traditional rotary or linear process, it is critical for applications using a newer technology, such as Low Force Friction Welding.
The main purpose of Phase 1 is to prove to you that we can achieve good, strong welds using solid-state joining. To do this, we use smaller coupons to demonstrate the wall thickness or geometry of your component. At this early stage, we are not yet focused on flash morphology - instead we're zeroing in on the weld integrity and the metallurgy.
This gives us an inexpensive way to demonstrate that your weld will be fit-for-purpose. Once we do that, we can move on to the next step.
Phase 2: Scalability
In this phase, we are able to dive deeper into your application and begin making tweaks to match your specifications.
Phase 2 will utilize existing tooling, if possible, or less-expensive tooling to make sure that we can test the weld area and geometry of the desired weld.
We are not spending money on production parts or production grade tooling, but we do end up with a representative weld that will help you determine if your part is fit-for-purpose.
Now, we are ready to begin testing with a full-sized sample part. Much like the coupons, this sample part may have an enlarged clamping surface or a lower weld interface, but the weld area and wall thickness is correct so you can perform further, more advanced testing.
Phase 3: Full-scale/product-based
Phase 3 utilizes production-intent parts and production-grade tooling. This is more of an investment than Phase 2, but now this provides you with something that can be tested for fit-for-purpose.
Phase 4: Robust Manufacturing Process
At this step in the process, we study any of your incoming components and the variations in metallurgy or machining to make sure that when your welder says you have a good part, you in fact have a good part that is fit-for-purpose and fits all your manufacturing tolerances.
Let's Get Started!
Ready to embark on your own weld development journey? Contact us today to connect with a sales engineer, who will help outline your next steps!